Installing a new air conditioner brings many benefits to the table. Such a system can provide you with better air quality and humidity control, which may also lead to better sleep and other benefits.
Of course, installing an AC unit isn’t as straightforward as it seems. You must follow a few steps if you want to be successful. Forgetting about essentials like the evaporator coil or the refrigerant could cause you to have a few problems down the road.
We’re here to help you service your new air conditioner the right way with this blog. Below is a guide on how to install an air conditioning system.
What Do You Need to Install an Air Conditioner?
The tools you need to install your air conditioner will depend on the case. It will also depend if you have an old system in place. Let’s first evaluate the type of window you have.
You may have a standard window that opens by lifting it up or a slider one. Finally, you may have a casement window that cranks open. Once you identify the type of window you have, it’s time to measure its opening and make sure that there are power outlets nearby to plug the air conditioning unit.
Most people go for the domestic or split AC, as it’s the common one for households. It has an indoor and outdoor unit. You will have to install pipes that pass the refrigerant through the system, as this will allow you to get cool air.
If you get a domestic air conditioner, you can cool multiple rooms at once. The other one only cools one room at a time.
Some of the tools you’ll need to install part of your “Heating, Ventilation, and Air Conditioning (HVAC)” system include the following:
- Tape measure
- L-shaped bracket
- Screwdriver/screws
- Drill
- AC foam insulation weather strip
- Scissors
It’s possible that you may need a support bracket too, depending on where you’ll install the air conditioner.
How’s a Regular Air Installation Procedure?
AC installation procedure might seem complicated. But once you get the tools and the unit, it’s time to get to work. To finish your air conditioning installation successfully, you must be patient and careful throughout the process.
Let’s get started with this step-by-step guide for installing air conditioners!
Remove the Old Air Conditioner Unit
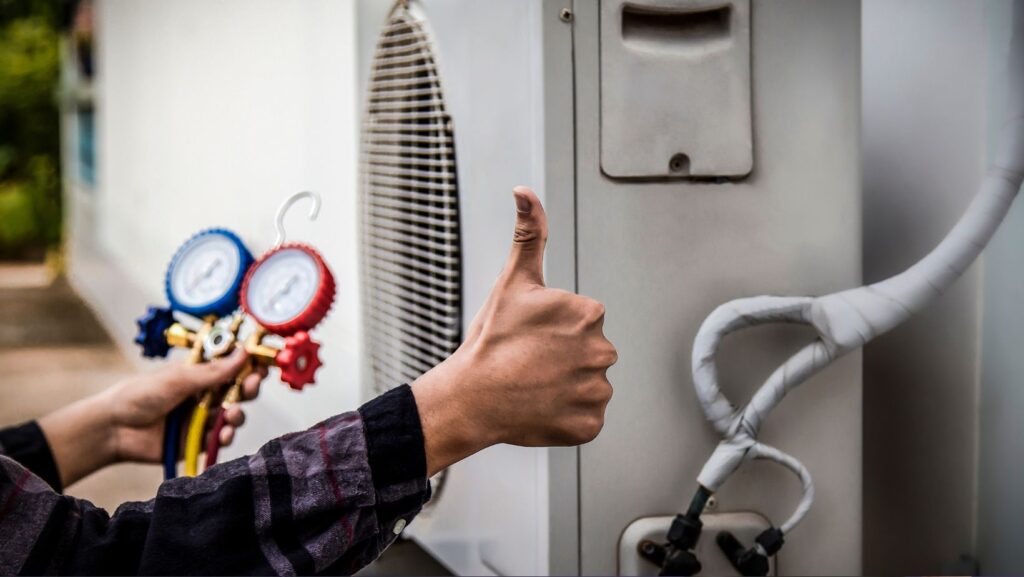
Before starting the air conditioning system installation service, let’s inspect the work location and remove the old unit. You will have to get rid of the refrigerant in the old air conditioner. Be careful when removing the refrigerant, as you can’t leave it to vent into the air openly.
Once you’ve removed the refrigerant successfully, make sure to disconnect the wiring in the old air conditioning system. This will allow you to remove the cooling system and get started with the new installation process.
Prep the Pad for the Outdoor Unit
Now, you must replace each pad from the old outside unit. You can choose from a composite or concrete pad. We suggest the composite pad, as it can sit outside for longer.
The concrete pad, on the other hand, may not last as long, and repairs may be more difficult.
Remove/Replace the Indoor Evaporator Coil
There are two variants of the evaporator coil: a cased and an uncased one. We suggest getting the cased evaporator coil since it features an insulated cabinet with separable panels. The panels themselves give you access to the coils.
Due to the design, you can let the evaporator coil sit on the furnace, making future repair services much easier.
Remove and Replace Each Refrigerant Line
The next step in this new air conditioning installation guide is to replace your refrigerant line. It’s comprised of two copper lines through which the refrigerant travels to the condenser and into the evaporator coil.
The refrigerant will travel alongside oil, and it’s crucial that the old one doesn’t mix with the new. This will cause damage to the new air conditioning system installation. If it’s necessary to use the old line, you will have to flush and clean it to ensure the pressure is working.
We don’t recommend using old lines unless it’s necessary.
You can install hangers around the area to ensure the lines stay in place. Then, you can roll them out and push them so that they reach the valve of the outside unit. Finally, the line will run from the condenser to the indoor evaporator coil.
Make sure to install a small low-voltage control wire that connects the thermostat to the outside unit and the furnace, as this will allow you to turn on/off the air conditioning system.
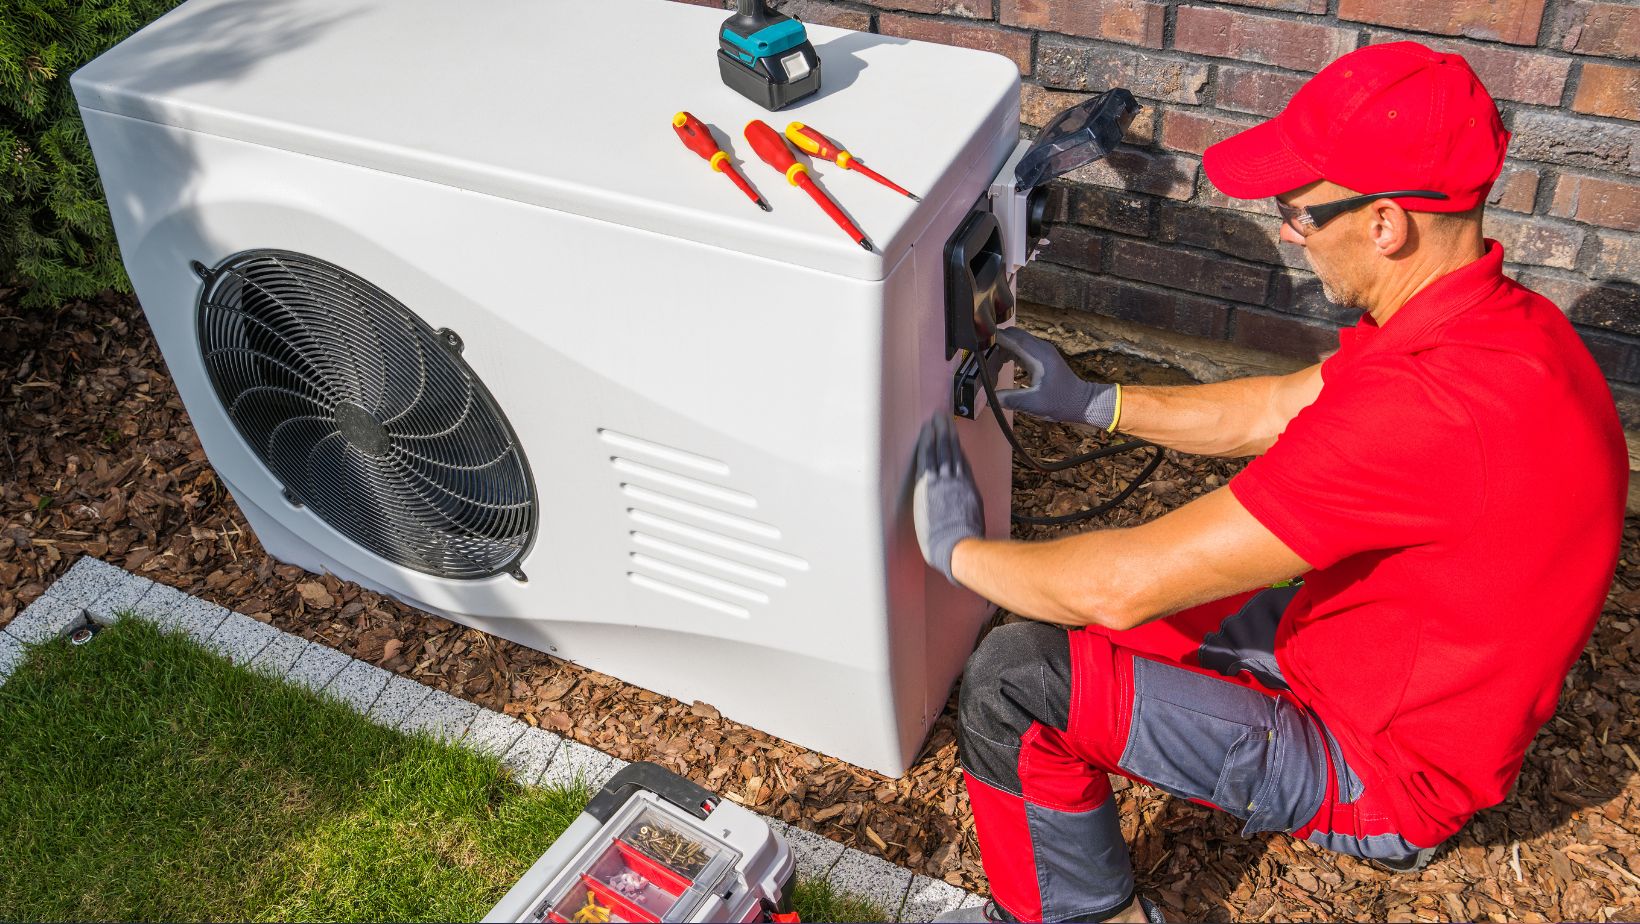
Set up the Outside Unit
Next in this process, install the AC condenser on the pad you set up earlier. It should fit the installed line perfectly. Once you’ve fitted the condenser in the valve, melt the copper line set, service rod, and filler rod to form a leak-free connection.
Install the Filter Dryer
You must install a filter dryer in the condenser to ensure the AC unit absorbs moisture and also provides filtration. Most manufacturers suggest that the filter dryer installation is close to the expansion valve at the indoor coil. This is to protect it from extreme weather events.
Install the Wiring
Mount a new service disconnect box using your existing power supply from the electric panel. You may choose from the fused and the non-fused box. The fused box offers overcurrent protection, so we recommend it more than the other one.
Non-fused boxes are better if the breaker has the same maximum overcurrent protection stated by the manufacturers of the HVAC unit.
Condensate the Drain Line Installation
Any moisture produced during the cooling process will travel down a PVC pipe connected to the evaporator coil. The evaporator has a primary condensate drain that travels from the coil to a condensate pump. If your home doesn’t have a floor drain, you should install a condensate pump.
Test the Installation
The last step in this installation process is to test everything. Let the AC unit run for 15-20 minutes, as this will allow the refrigerant to flow throughout the system and start the air conditioning process.
Remember to check your HVAC system’s warranty just in case something happens.
When It’s Time to Tune Up Your AC Unit?
You may ask yourself how often should you tune up your AC unit? You’re done getting your air conditioning unit installed, how often should you get it repaired? There are many services that cover this purpose, but it’s crucial to know how often to tune it up to avoid problems.
Usually, you should take care of your HVAC system once a year. However, if you have an older AC unit set up, we suggest tuning it up twice a year. The older the air conditioning system is, the more frequently it’ll need repair services.
You’ll also know if your AC unit needs appropriate cleaning/maintenance/tune-up services if:
- You get a high energy bill at the end of the month.
- You’re getting reduced airflow from the cooling vents.
- The indoor temperatures are higher than normal.
- You haven’t requested air duct cleaning services in a while.
- Your air conditioner is turning on and off frequently.
- The indoor humidity is rising.
Bottom Line
That’s all you need to know about installing a new air conditioning system. Although the service isn’t as complicated as it seems, any mistake during the installation of your AC system may lead to lost time and money.
It’s always recommended to leave your installation to an efficient and expert company if you don’t feel like you have the knowledge or skills to pull it off. Otherwise, following the steps in this guide will give you everything necessary to get the installation done without any major hiccups.