Looking to spruce up your bedroom with a touch of DIY charm? I’ve got just the project for you – a DIY king headboard that will elevate your space without breaking the bank. Whether you’re a seasoned DIY enthusiast or a newbie looking to get creative, this project is perfect for all skill levels.
In this article, I’ll walk you through the step-by-step process of creating your own custom king headboard. From choosing the right materials to adding personal touches, I’ll share my expert tips and tricks to help you achieve a professional-looking result headboard that suits your style and budget.
Choosing the Right Materials
When building a diy king headboard, selecting the right materials is crucial for both aesthetics and durability. Here are some key factors to consider:
- Wood Type: Opt for sturdy and high-quality wood such as oak or pine for a durable and long-lasting headboard.
- Fabric Selection: Choose a fabric that compliments your bedroom decor and is easy to clean for practicality.
- Foam Thickness: Ensure the foam used for padding is thick enough to provide comfort while sitting up in bed.
- Design Elements: Don’t forget to consider buttons, nailhead trim, or other decorative elements to personalize your headboard.
I also recommend exploring local home improvement stores or online retailers for a wide selection of materials tailored to your design preferences.
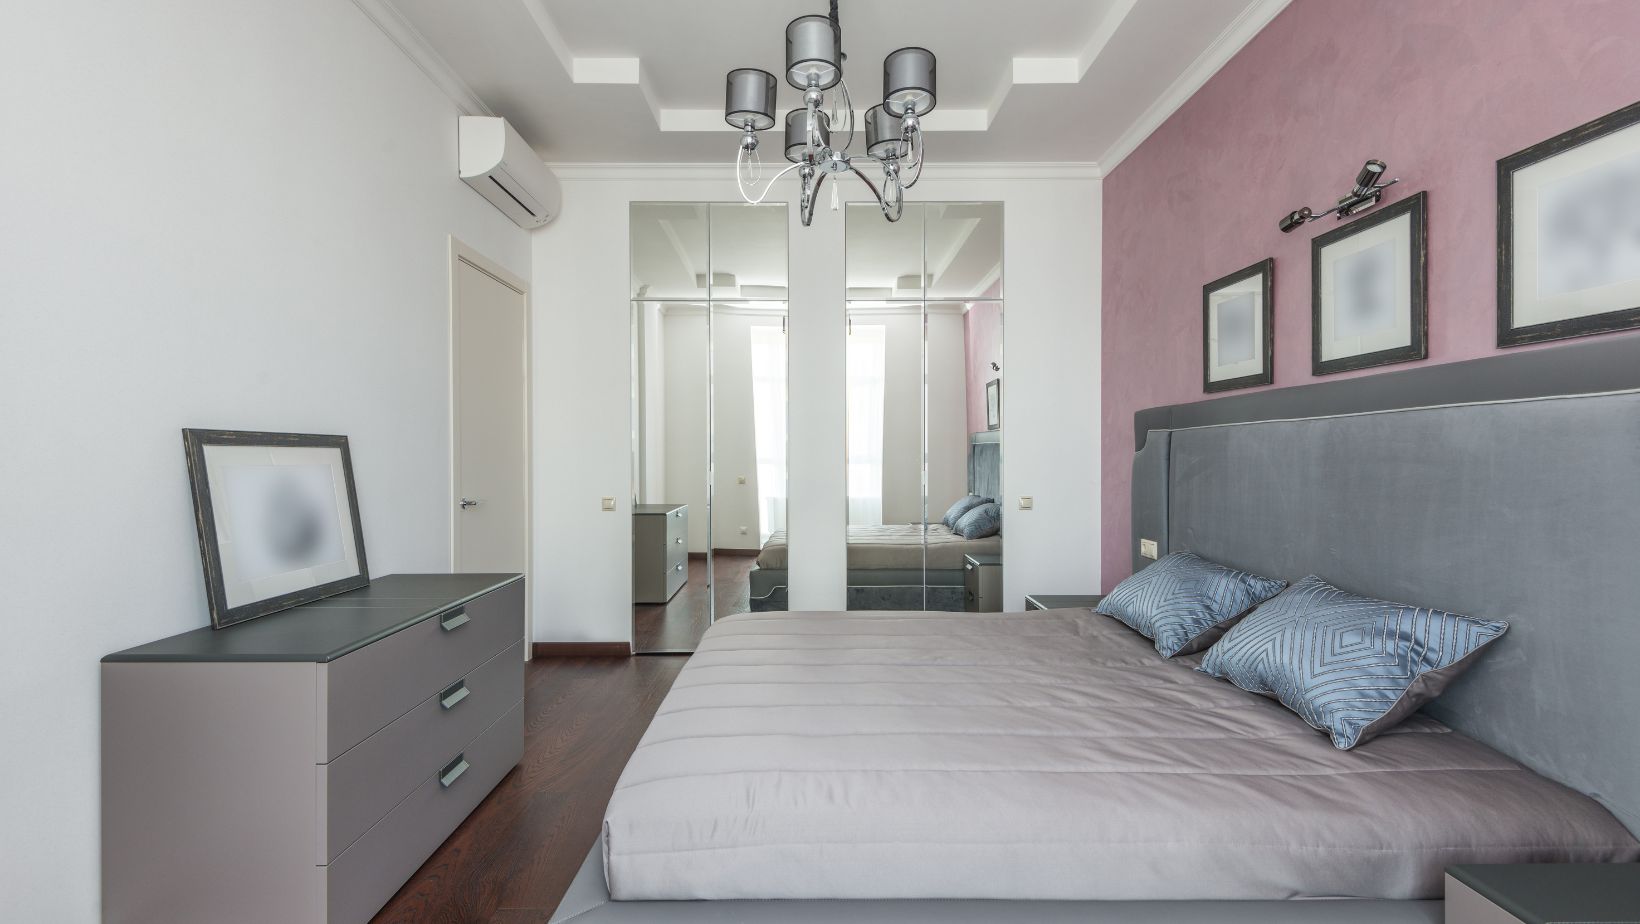
DIY King Headboard
When creating a DIY king headboard, precise measurements are crucial. Begin by determining the desired width and height of the headboard. Ensure the wood is cut accurately to these dimensions using a circular saw or jigsaw.
I recommend marking the measurements on the wood before cutting to avoid errors. Remember to wear appropriate safety gear like goggles and gloves during this step. Once the wood is cut, sand the edges for a smooth finish.
Adequate measurements and precise cuts are essential for a professional-looking headboard. Without these, the final piece may not fit the bed frame correctly. Take your time during this phase to guarantee the best results.
Designing Your Headboard
When designing your DIY king headboard, it’s essential to visualize the look you want to achieve. Consider factors like the style of your bedroom, your personal taste, and any existing furniture.
Here are some key points to keep in mind:
- Size: Determine the width and height of your headboard based on your bed frame’s dimensions.
- Materials: Choose the type of wood or alternative material that aligns with your design vision.
By planning the design ahead of time, you’ll set a clear vision for your project and ensure a custom-made headboard that suits your space perfectly.
Assembling the Pieces
When it comes to diy king headboard projects, the assembly process is where all your hard work starts coming together. Here’s how I tackle this crucial stage:
- Organize the materials: Before diving in, I make sure all the materials and tools I need are easily accessible. This keeps the process smooth and efficient.
- Follow the design plan: Referring back to the design plan is essential during assembly. It ensures that all pieces come together correctly and align with the envisioned final product.
- Secure the structure: Depending on the chosen materials, I utilize appropriate methods to secure the headboard’s structure. This step is crucial for the longevity and stability of the finished piece.
- Add finishing touches: Once the main structure is assembled, I focus on adding any final touches or details that enhance the headboard’s overall aesthetic.
Crafting a diy king headboard is a gratifying project that requires attention to detail and careful execution. By following a methodical approach during the assembly phase, I ensure a final product that not only looks stunning but also fits seamlessly into the bedroom decor.
Adding Personal Touches
When customizing a DIY king headboard, personal touches can truly make it your own. Here are some ideas for adding a unique flair to your headboard:
- Upholstery: Consider adding fabric upholstery for a plush and cozy look. Select a fabric that compliments your bedroom decor for a cohesive feel.
- Tufted Design:Incorporated Button tufting for an elegant and luxurious touch. This classic design element can elevate the overall appearance of your headboard.
- Decorative Trim:Enhance the edges of your headboard with decorative trim, such as nailhead accents or ribbon detailing, for a polished finish.
- Paint or Stain: Use paint or stain to color or finish the wood in a way that complements the room’s color scheme.
By personalizing your DIY king headboard, you can create a one-of-a-kind piece that reflects your style and personality.