Why limescale shows up so fast (and why it sticks)
Limescale is the chalky, sometimes crusty residue left behind when hard water dries on a surface. If your water contains lots of dissolved minerals, mainly calcium and magnesium, every shower can leave a tiny “ring” of deposits that slowly build into a visible film. It often starts innocently on the shower screen edge or around the tap base, then spreads into cloudy patches on glass and a rough, dull feel on tiles.
The frustrating part is that limescale does not just sit on top of surfaces. It bonds, layer by layer, especially where water repeatedly pools: the bottom of the shower door, around grout lines, under the rim of the basin, and inside the shower head nozzles. Add heat from hot water, plus soap scum that acts like glue, and you have the perfect recipe for a stubborn, whitish crust that regular “quick wipes” cannot shift.
Spotting limescale versus soap scum (so you treat it correctly)
Many people tackle bathroom haze with the wrong approach because soap scum and limescale look similar from a distance. Soap scum tends to feel greasy or waxy and smears when you rub it with a wet finger. Limescale is more brittle and chalky. If you drag a fingernail across a dried patch and it feels slightly gritty, that is often mineral build-up rather than leftover body wash.
A practical way to tell is to test a small, hidden area first. If a gentle acidic cleaner starts to clear the patch quickly, minerals are likely involved. If it barely changes but the surface feels slippery, you are probably dealing with soap residues layered with oils. In real bathrooms, it is usually both, which is why the “one spray fixes everything” promise rarely matches reality.
How to choose a limescale remover that works and stays surface-safe
The best results come from matching the product to the surface and the severity of the build-up. Limescale needs an acidic formula to dissolve mineral deposits, but “stronger” is not always “better” if it risks etching or dulling finishes. The goal is controlled strength paired with smart technique: enough contact time to break the bond, and gentle agitation to lift residue without scratching.
When you are comparing options, look for clear guidance on where it can be used, especially if your bathroom has a mix of chrome, stainless steel, ceramic, glass, and plastic. If you are researching the best limescale remover, a good benchmark is whether it is described as powerful on stubborn deposits while still suitable for common bathroom materials. That balance matters most when you are cleaning frequently and do not want a “clean today, dull tomorrow” outcome.
Key features worth prioritising
Focus on three practical points. First, controlled dwell time: a remover that works within minutes is helpful, but it should not need aggressive scraping. Second, surface compatibility: especially important for chrome, glazed tiles, and shower screens. Third, versatility: a formula that can handle problem areas like tap bases, tile edges, and shower heads saves you from juggling multiple bottles.
Where people accidentally cause damage
Damage usually comes from impatience and the wrong tools. Leaving acidic product to dry on a surface can increase the risk of marks. Using abrasive pads can scratch glass and leave chrome looking permanently hazy. Another common mistake is forgetting that natural stone is a different category altogether; marble, limestone, and some terrazzo surfaces can react badly to acids. If you have stone, treat it as its own project and follow stone-safe guidance rather than general bathroom advice.
A step-by-step routine for stubborn limescale in the shower
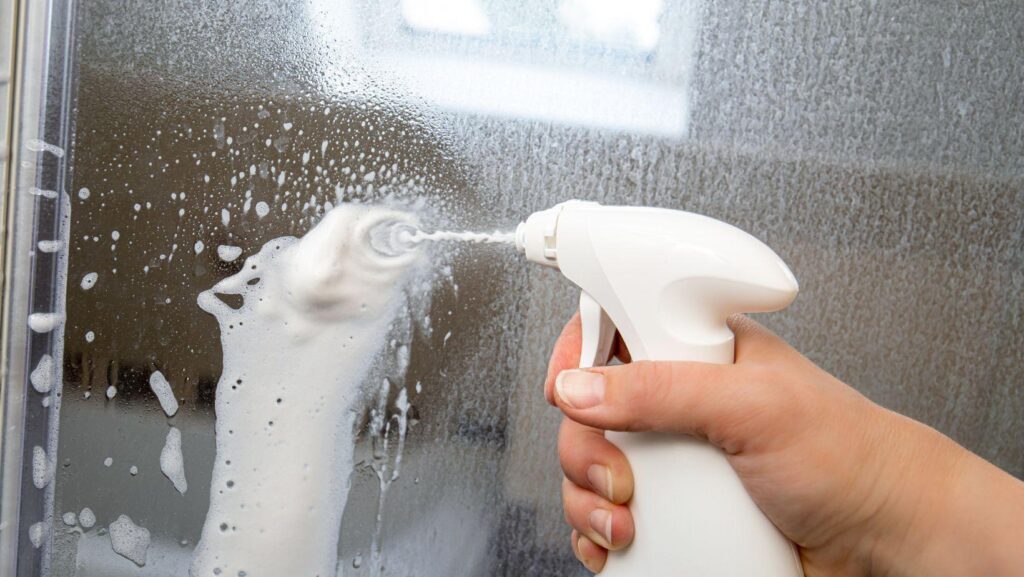
A reliable routine is less about brute force and more about sequence. Start by rinsing the area with warm water to loosen loose grime. Apply your limescale remover according to its instructions and keep it from drying out. On vertical shower glass, applying in sections helps you control contact time. Once the deposit starts to soften, use a non-scratch sponge or soft brush to gently agitate, then rinse thoroughly.
For thick build-up on tile edges or around fittings, repeat once rather than switching to a sharper tool. Think of it like soaking a baked-on pan: two sensible rounds beat one aggressive round. Finish by drying the surface with a microfiber cloth. This sounds small, but it is often the difference between a clear shine and that familiar cloudy veil returning a day later when droplets dry on leftover minerals.
Shower heads: the overlooked source of “hard water” frustration
If your shower suddenly sprays sideways or feels weak, limescale inside the nozzles is a common culprit. Many shower heads can be cleaned by applying remover carefully and rinsing well, or by following the manufacturer’s recommended method for descaling. After cleaning, run hot water for a minute to flush loosened debris. You will usually hear it, a quick sputter, then the flow evens out again.
Keeping limescale from coming back so quickly
The most effective prevention is reducing how often water dries on surfaces. A 30-second rinse and wipe-down after a shower can dramatically slow build-up, especially on glass and chrome. If your household is busy, even a quick squeegee pass on the shower screen and a fast wipe around the tap base helps, because those are the spots where minerals concentrate.
It also helps to plan “light maintenance” before things look bad. If you wait until the glass is fully cloudy and the tiles feel gritty, you will need stronger action and more time. A regular, gentle clean keeps the work small and the surfaces looking newer for longer, which is especially noticeable on shiny fixtures where dullness creeps in gradually.
Quick troubleshooting for common bathroom limescale problems
Cloudy shower glass that never seems to clear
Cloudiness can be layered limescale and soap scum. Use a limescale remover first, rinse, then wash with a mild cleaner to remove remaining film. Dry thoroughly to check your progress, because wet glass can hide leftover haze until it dries and the minerals reappear.
White crust around tap bases and handles
These tight areas trap water and cleaners often run off too quickly. Apply product carefully, let it work for the recommended time, then agitate with a soft toothbrush or detail brush. Rinse well and wipe dry so you are not leaving moisture behind to restart the cycle.
Brownish marks mixed with scale
Some deposits are not purely white. In hard-water areas, mineral build-up can combine with traces of rust or other staining, especially around metal fittings and water outlets. Treat the limescale first so the stain is no longer sealed under a mineral layer, then reassess what remains after rinsing.
Small habits that make your bathroom feel “hotel clean”
The bathrooms that stay effortlessly fresh usually have one thing in common: surfaces are not left to air-dry with mineral-rich droplets on them. Keep a microfiber cloth within reach, store a squeegee in the shower, and give taps a quick dry after brushing teeth or washing hands. It is a tiny ritual, but it keeps chrome bright and stops that gritty ring forming around the basin.
When limescale does show up, treat it early and gently, and you will spend less time scrubbing and more time enjoying a bathroom that looks clear, crisp, and well cared for.