Title: What Is Stucco Painting? A Complete Guide | Neighbourhood Painters
Meta: Give your home a fresh look with stucco painting! Learn how to prepare, select the right paint, and apply it for lasting curb appeal.
Stucco is a durable and versatile material that enhances homes with a classic, textured appearance. Over time, however, it can fade or show signs of wear. Stucco painting offers an effective way to maintain its look and protect against the elements. This process revitalizes your home’s exterior and shields it from moisture, UV rays, and temperature changes, preventing cracking, peeling, and mould growth. From surface preparation to paint selection and expert application tips, we will cover everything you need to know about stucco painting in this guide.
What Is Stucco Painting?
Stucco painting involves using specialized paint to improve the appearance and safeguard stucco surfaces from weather-related damage. It revitalizes the home’s look and protects against moisture, UV rays, and temperature changes, helping prevent cracking, peeling, and mould growth. Painting stucco offers the advantage of improving the overall look of your house, whether you want to update the current colour or completely alter its tone.
Steps for Proper Stucco Surface Preparation
Proper preparation of your stucco surface is crucial for a painting project to be successful. When signs of wear, such as fading or cracks, appear on your stucco, it is important to take the necessary measures. Here are some tips for effectively preparing your stucco for painting the exterior.
- Inspect the Stucco
Begin by thoroughly examining your stucco for signs of damage, such as cracks, peeling paint, or mould growth. Identifying these problems early on allows for prompt action, preventing them from becoming more severe. Be sure to also look for any discoloration that could indicate moisture issues. Having a clear understanding of the condition of your stucco is crucial in carrying out successful repairs and ultimately achieving exceptional results for your house painting project.
- Clean the Surface
The first and most crucial stage is cleaning. A pressure washer is recommended to eliminate dirt, debris, or mildew buildup.
The strong force of the water will reveal the true state of your stucco by washing away years of neglect. If there are tough stains or mould, try to scrub these portions with warm water and gentle soap. A pristine surface improves adhesion and enhances the overall aesthetic of the finish.
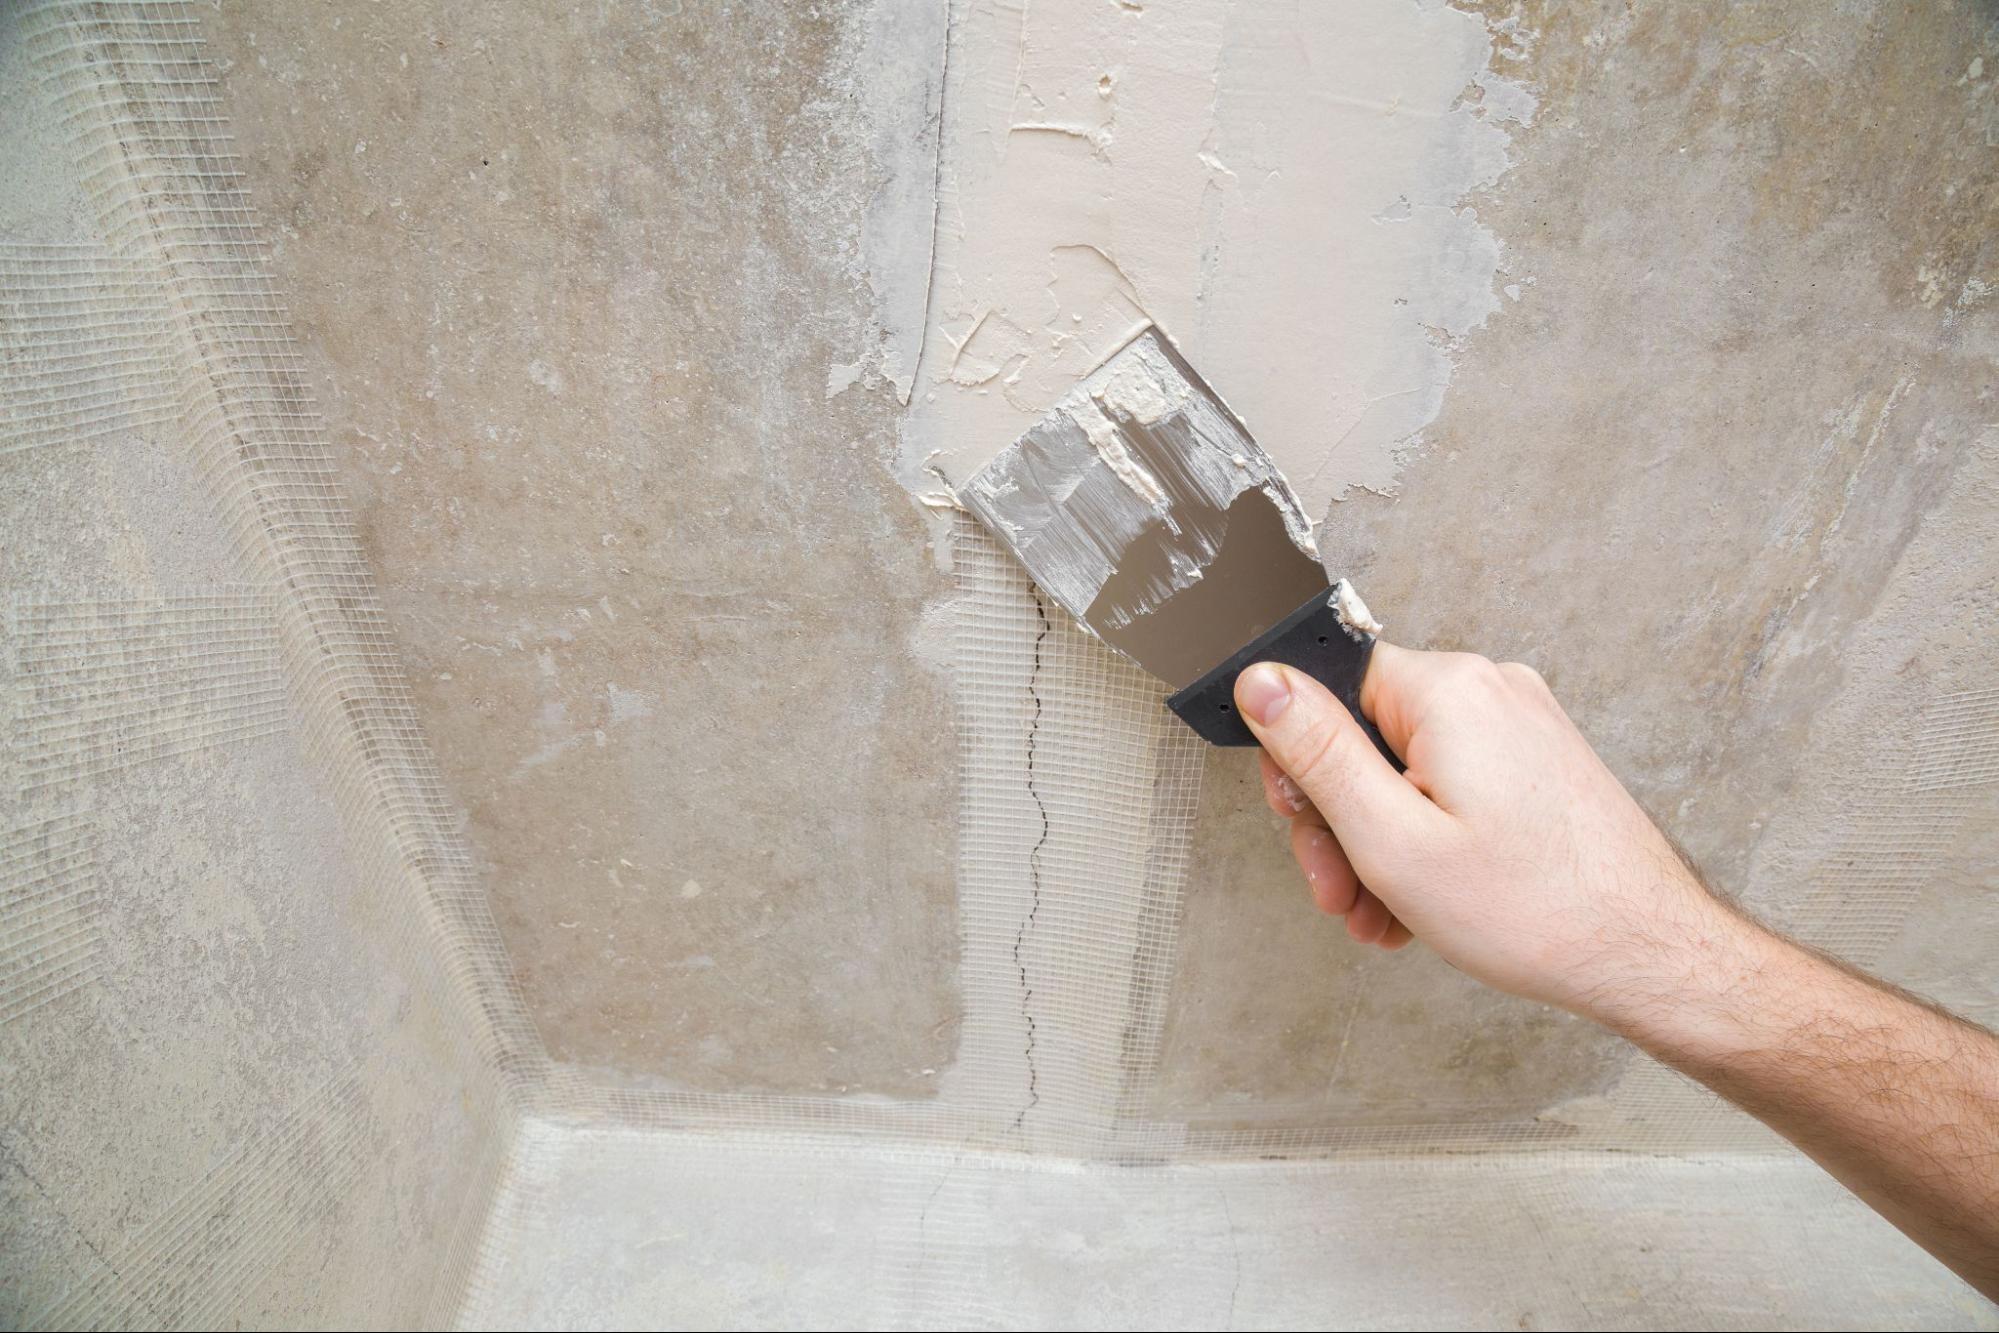
- Repair Cracks and Imperfections
Following the cleaning process, address any necessary stucco repairs. Minor hairline cracks can be easily filled using a high-quality stucco crack repair compound, preventing them from expanding. However, a more extensive approach may be needed for larger cracks, such as using patching materials. Once repairs are made, allow them to cure completely before priming and painting, ensuring a flawless finish for your stucco painting project.
- Prime the Surface
Priming is essential before painting stucco walls. A suitable primer for stucco surfaces enhances paint adhesion and creates a sound base. Apply a bonding primer with a roller or brush, ensuring even coverage. This step seals the porous material, preventing paint from soaking in unevenly, possibly leading to unsightly patches later.
Choosing the Perfect Paint for Stucco
Selecting the appropriate paint for your stucco ensures a durable and attractive finish. The top options are acrylic latex and elastomeric paints. Acrylic latex paint is popular due to its breathability and strong adhesion, making it suitable for most climates. On the other hand, elastomeric paint offers a thicker, waterproof barrier, making it ideal for homes with significant cracks or in areas with heavy rainfall.
Acrylic Latex Paint
- Breathable and flexible, allowing for natural expansion and contraction of stucco.
- Easy to apply and clean up, perfect for DIY projects.
- Resistant to UV rays and provides long-lasting colour.
Elastomeric Paint
- Thicker and more durable, effectively bridging small cracks.
- Excellent waterproofing capabilities, great for areas with high rainfall or humidity.
- Provides a seamless barrier against moisture, albeit less breathable than acrylic.
Masonry-Specific Paint
- It is formulated specifically for masonry and stucco surfaces, ensuring proper adhesion. It often contains additives that enhance mould and mildew resistance.
- Suitable for areas with significant wear due to environmental stressors.
How to Paint Stucco Properly: Step-by-Step Guide
After finishing the necessary prep work and priming, it is time to begin the actual stucco painting process. This stage involves skillfully applying paint to your stucco walls using appropriate techniques and materials for a stunning and long-lasting result.
Step 1: Gather Your Materials
Start by gathering all necessary materials for exterior stucco painting. Key items include high-quality paints suitable for stucco, a professional-grade paint sprayer or roller, and brushes for detailed areas. Having everything ready will streamline the painting process and enhance efficiency.
- A paint sprayer or thick nap roller is essential for smooth application.
- Quality acrylic or elastomeric paint is key for durability.
- Brushes are necessary for edges, corners, and touch-ups.
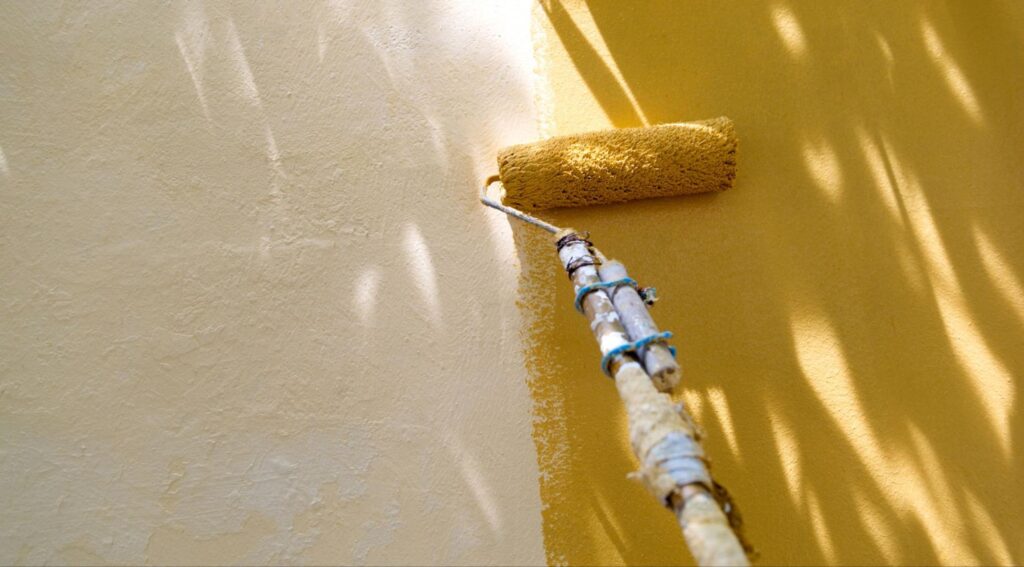
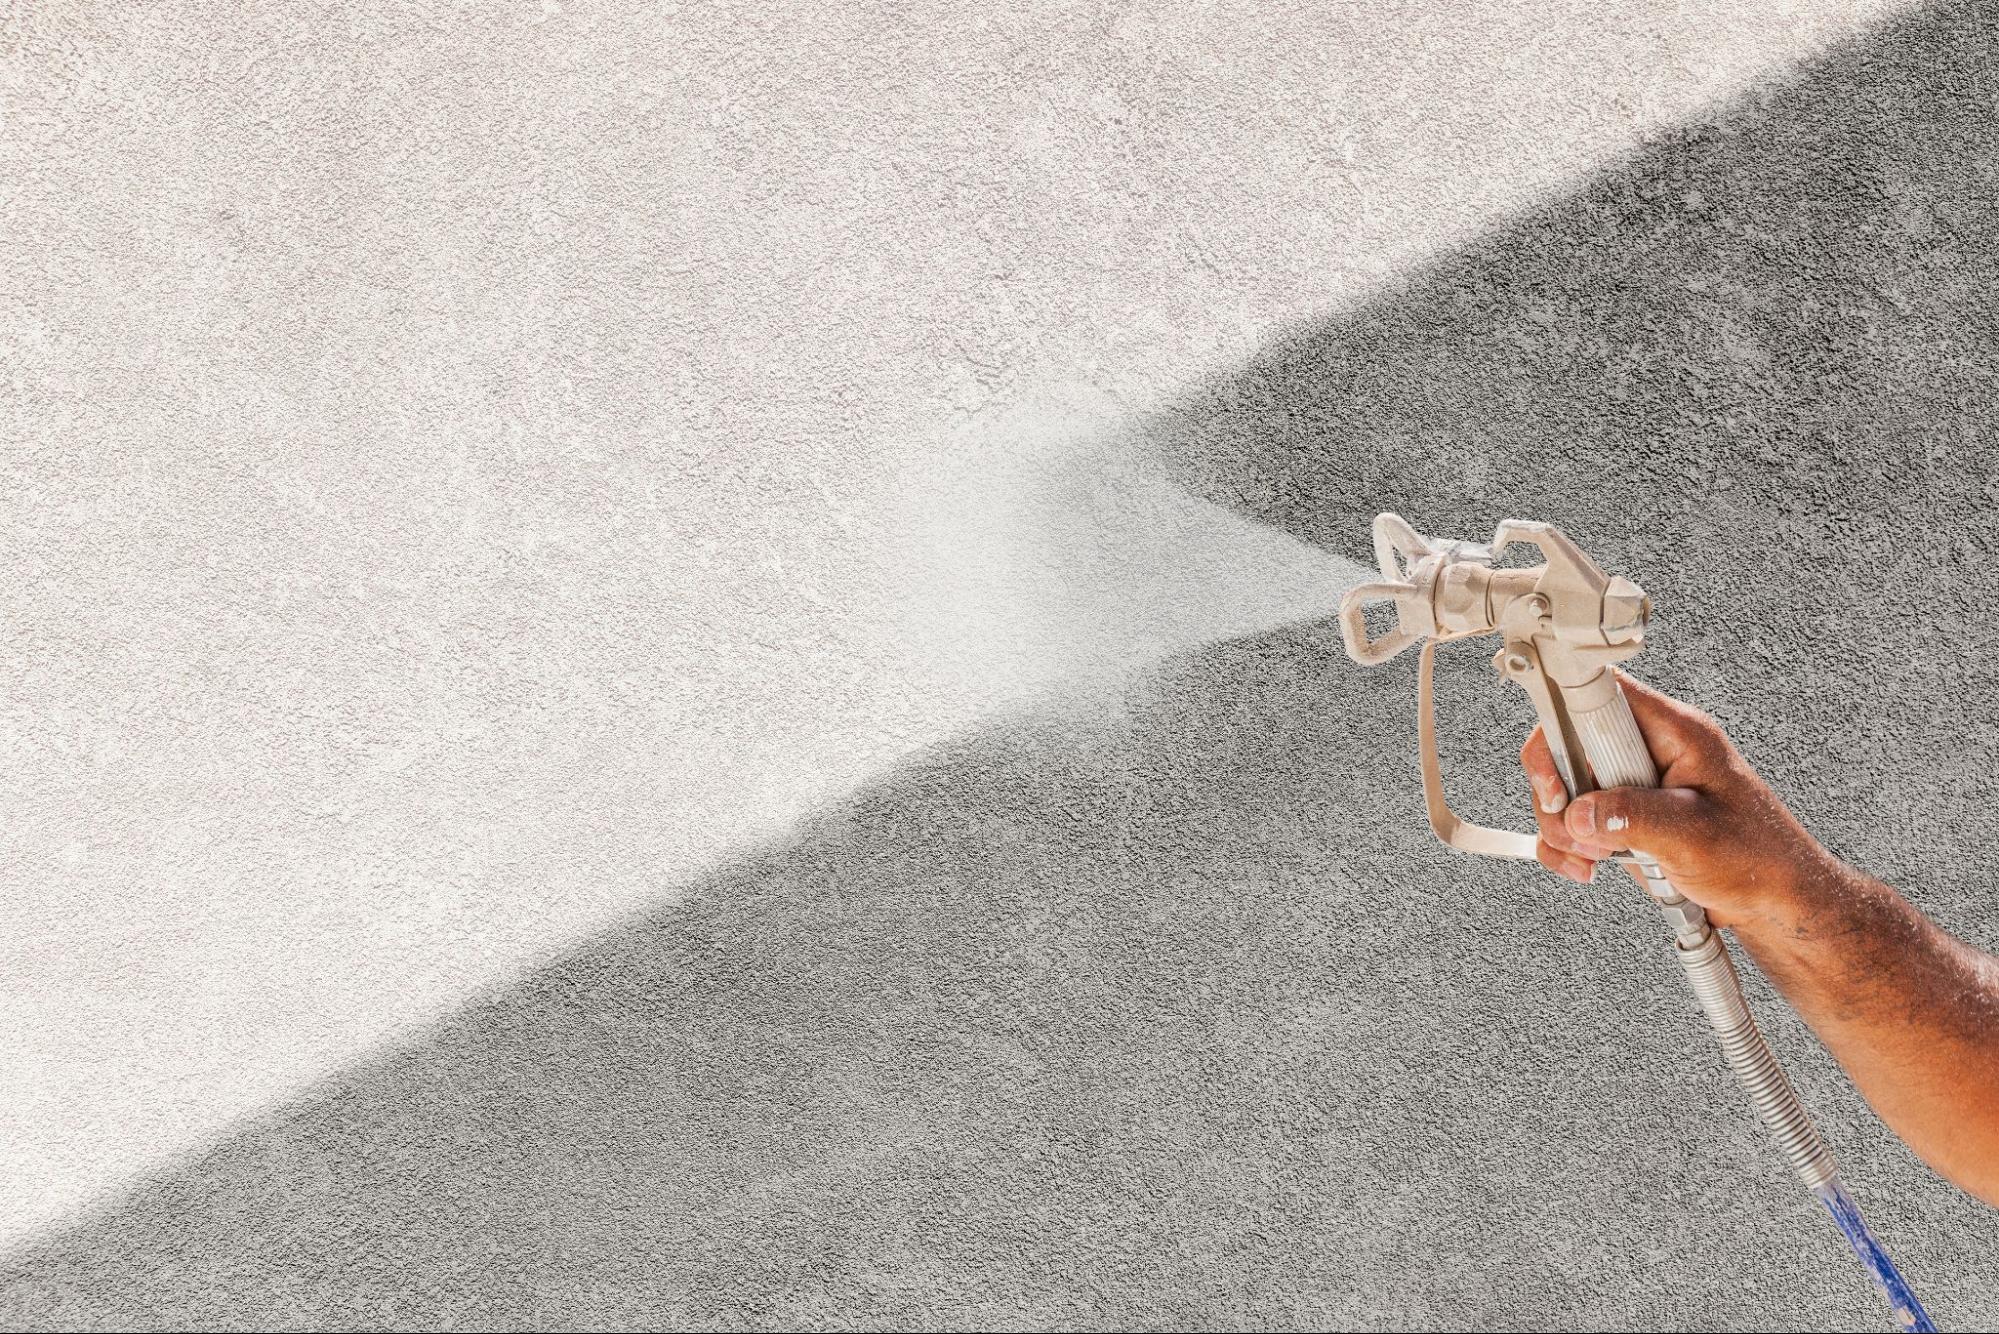
Step 2: Start with the Spray Application
Begin applying paint using a paint sprayer. This method effectively covers uneven textures and saves time on larger projects. Hold the sprayer approximately 12 inches from the surface, using steady strokes to create an even coat. Ensure that each stroke overlaps slightly to avoid streaks or missed spots.
- Use a consistent motion to maintain an even coating.
- Work in sections to manage drying times properly.
- Begin at the top of the wall and work downwards to prevent drips.
Step 3: Back-Roll for Uniform Texture
After spraying the initial coat, immediately back-roll the painted area using a medium nap roller.
This technique pushes the paint deeper into the stucco’s texture and fills in any gaps the sprayer leaves, ensuring complete coverage. Rolling can achieve a smoother, more uniform finish across all surfaces.
- Use a rolling motion that complements the spray pattern for consistency.
- Roll while the paint is still wet to maintain adhesion.
- Check for thin spots and reapply as needed during rolling.
Step 4: Apply Additional Coats
Once the first coat has dried, inspect the surface for coverage. If necessary, apply a second coat using the same spraying method followed by back-rolling to ensure depth and vibrancy. Multiple coats enhance colour richness and add extra protection against environmental factors.
- Allow adequate drying time between coats, typically 24 hours.
- Assess coverage under different lighting conditions to spot inconsistencies.
- Apply touch-ups where necessary for an immaculate finish.
Step 5: Final Touches
Once the final coat has dried, review the stucco walls for imperfections or missed spots. Using a brush, carefully touch these areas to achieve a seamless look. Gently remove any painter’s tape to avoid damaging the edges and give the painted surface a clean, sharp appearance.
- Inspect thoroughly under natural light to catch flaws.
- Use a brush for precision in hard-to-reach places.
- Clean up tools and dispose of materials responsibly after finishing.
Professional vs. DIY Stucco Painting
Choosing between hiring professional stucco painters or tackling the task yourself requires careful thought. Professionals bring expertise, proper equipment, and quality materials, ensuring a flawless and durable finish while addressing underlying issues like cracks or moisture concerns. Alternatively, DIY stucco painting can save money and offer personal satisfaction, but it demands time and effort. Inexperienced homeowners may encounter costly mistakes when painting stucco, such as improper surface preparation or inadequate paint application, which can lead to peeling, cracking, and ultimately expensive repairs down the line.
Upgrade Your Home’s Curb Appeal Today!
Stucco painting is a worthwhile investment in your home’s longevity and beauty. With the right preparation, quality paint, and proper techniques, you can achieve a finish that boosts curb appeal and protects your exterior from the elements. Whether you tackle the project yourself or hire professionals, executing each step carefully is crucial and ensures you have the right tools and products for optimal results. Avoid costly DIY mistakes and consider booking a consultation with expert stucco painters for a flawless finish.